

Here is the chair in it's original state. Cheaply made and in desperate need of some pizzazz (I had to check how to spell that word...weird isn't it?!). Even though furniture isn't expensive or super high quality, it can still look special...hence my make over.

I unscrewed the wooden part from the bottom and ended up with the frame, and this piece of wood (such technical terms). I laid it out on some foam that I already had laying around the house from a different project. I don't remember what type, brand, thickness, or any of that...like I said, laying around the house. I laid the wood on there, traced it with a sharpie, and cut it out. Super simple.

Then I laid the wood and foam on top of the material, left about three inches around each side, then cut that out. I put two layers of fabric on each chair because A. I got more than enough (don't even get me started on my lack of knowledge on measuring) and B. Burlap has tiny holes and I didn't want the foam color peeking through.
I then proceeded to pull the fabric tight from the center, working around, and stapling it on. I had to search high and low for N's staple gun and staples, but I eventually found them. The staple jammed a couple of times which allowed me to shoot aimlessly into the air to get it out--lucky I didn't lose any eyeballs there--but overall it was done without incident. Then this brought back memories of high school and a staple gun fight...wish I remember that more clearly....

Then I screwed that sucker back on in the same spots where I unscrewed it, and voila! I felt like such a pro. I had some issues with the corners but eventually by the fourth one I got that straightened out. This is the first one--it only went up from here.
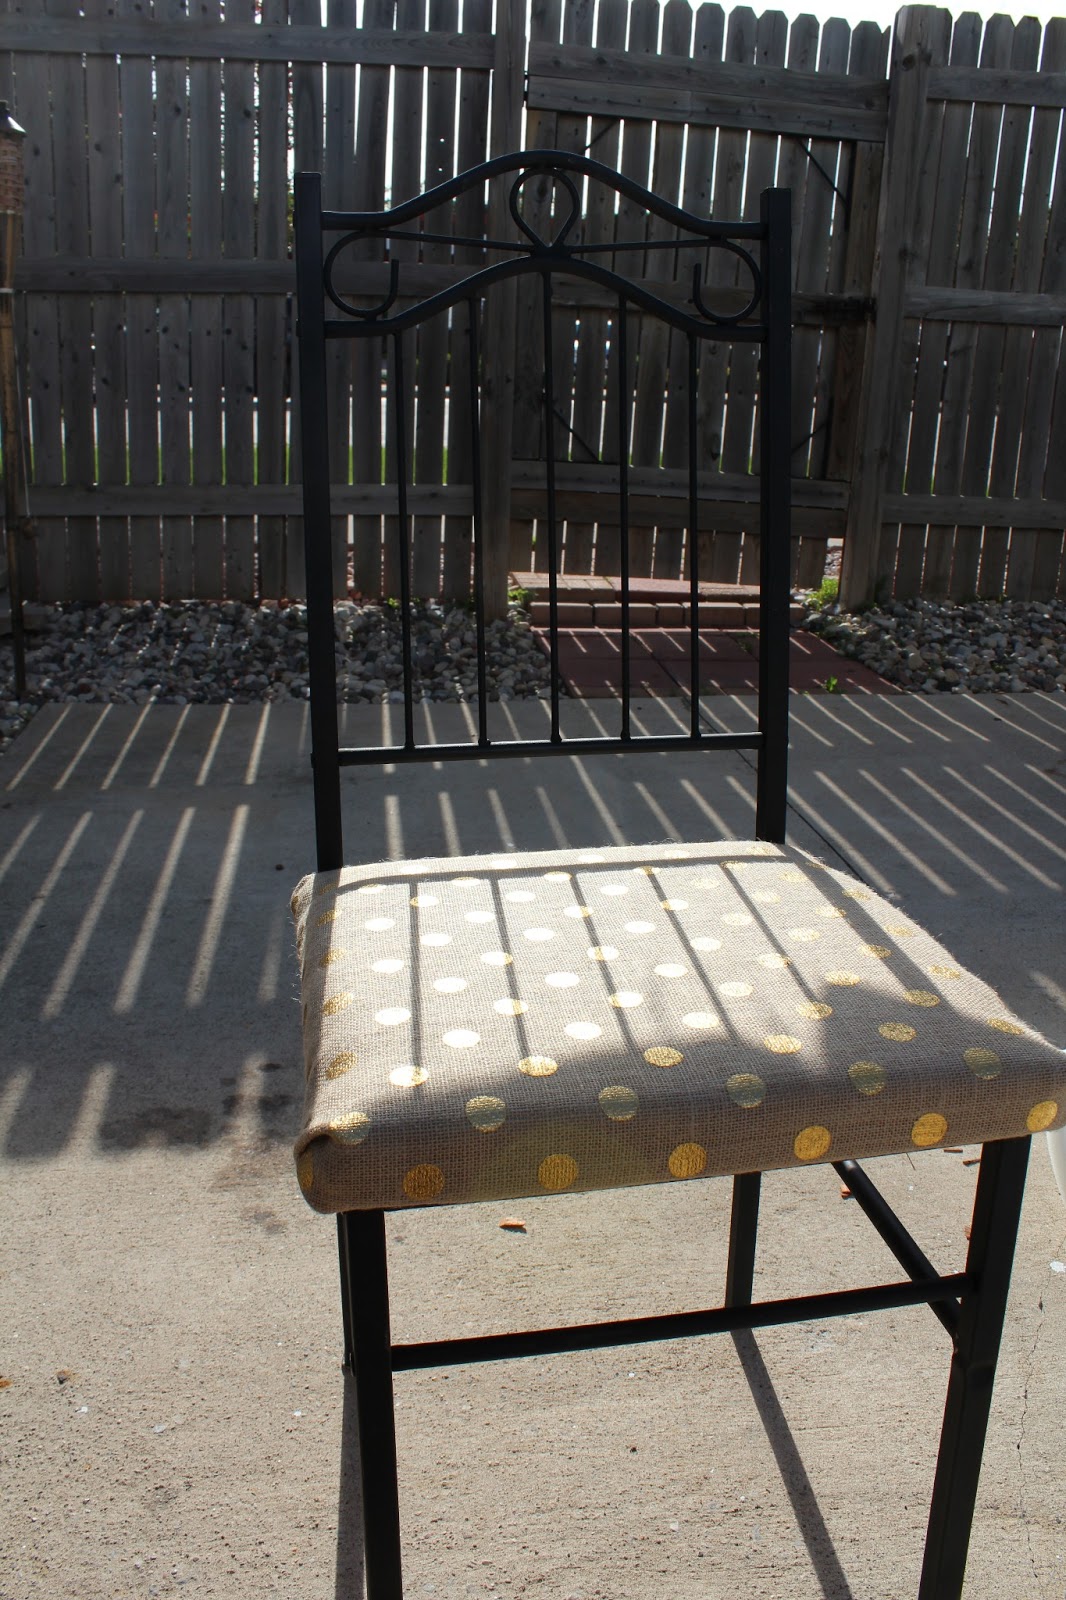
Here is a close up of the fabric just because I love it SOOOO much. It goes great with the rest of the decor in the kitchen, and has that little touch of glam and rugged all mixed together that I LOVE. I may have to get this into the wedding decor somehow.


No comments:
Post a Comment